Quick start
This guide takes you from first login to your first recorded payment in about ten minutes. You'll need the admin credentials provided when your organization was set up.
1. Sign in to the admin console
Open your Collector address and click Admin console (or go directly to
/login). Sign in with your admin username and password.
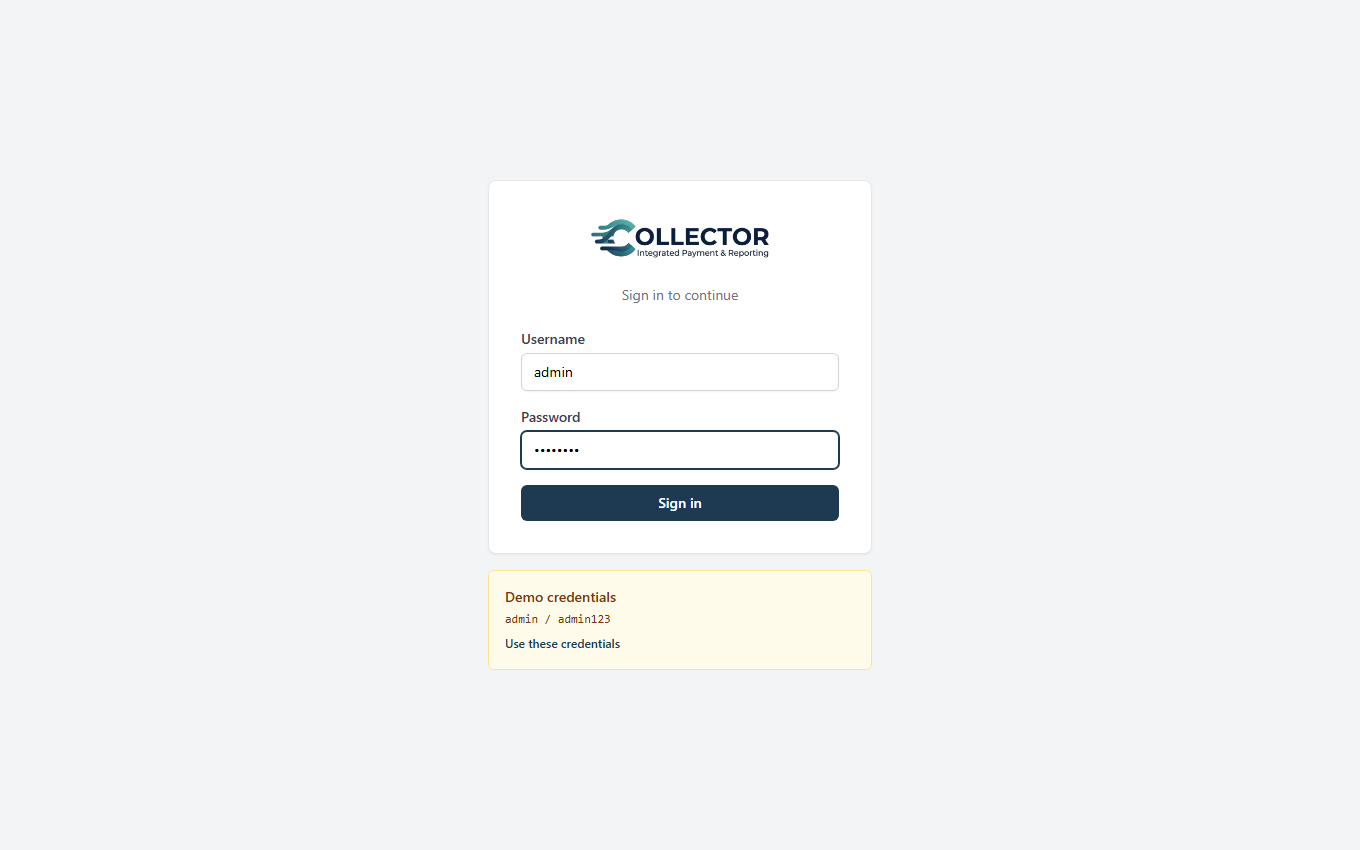
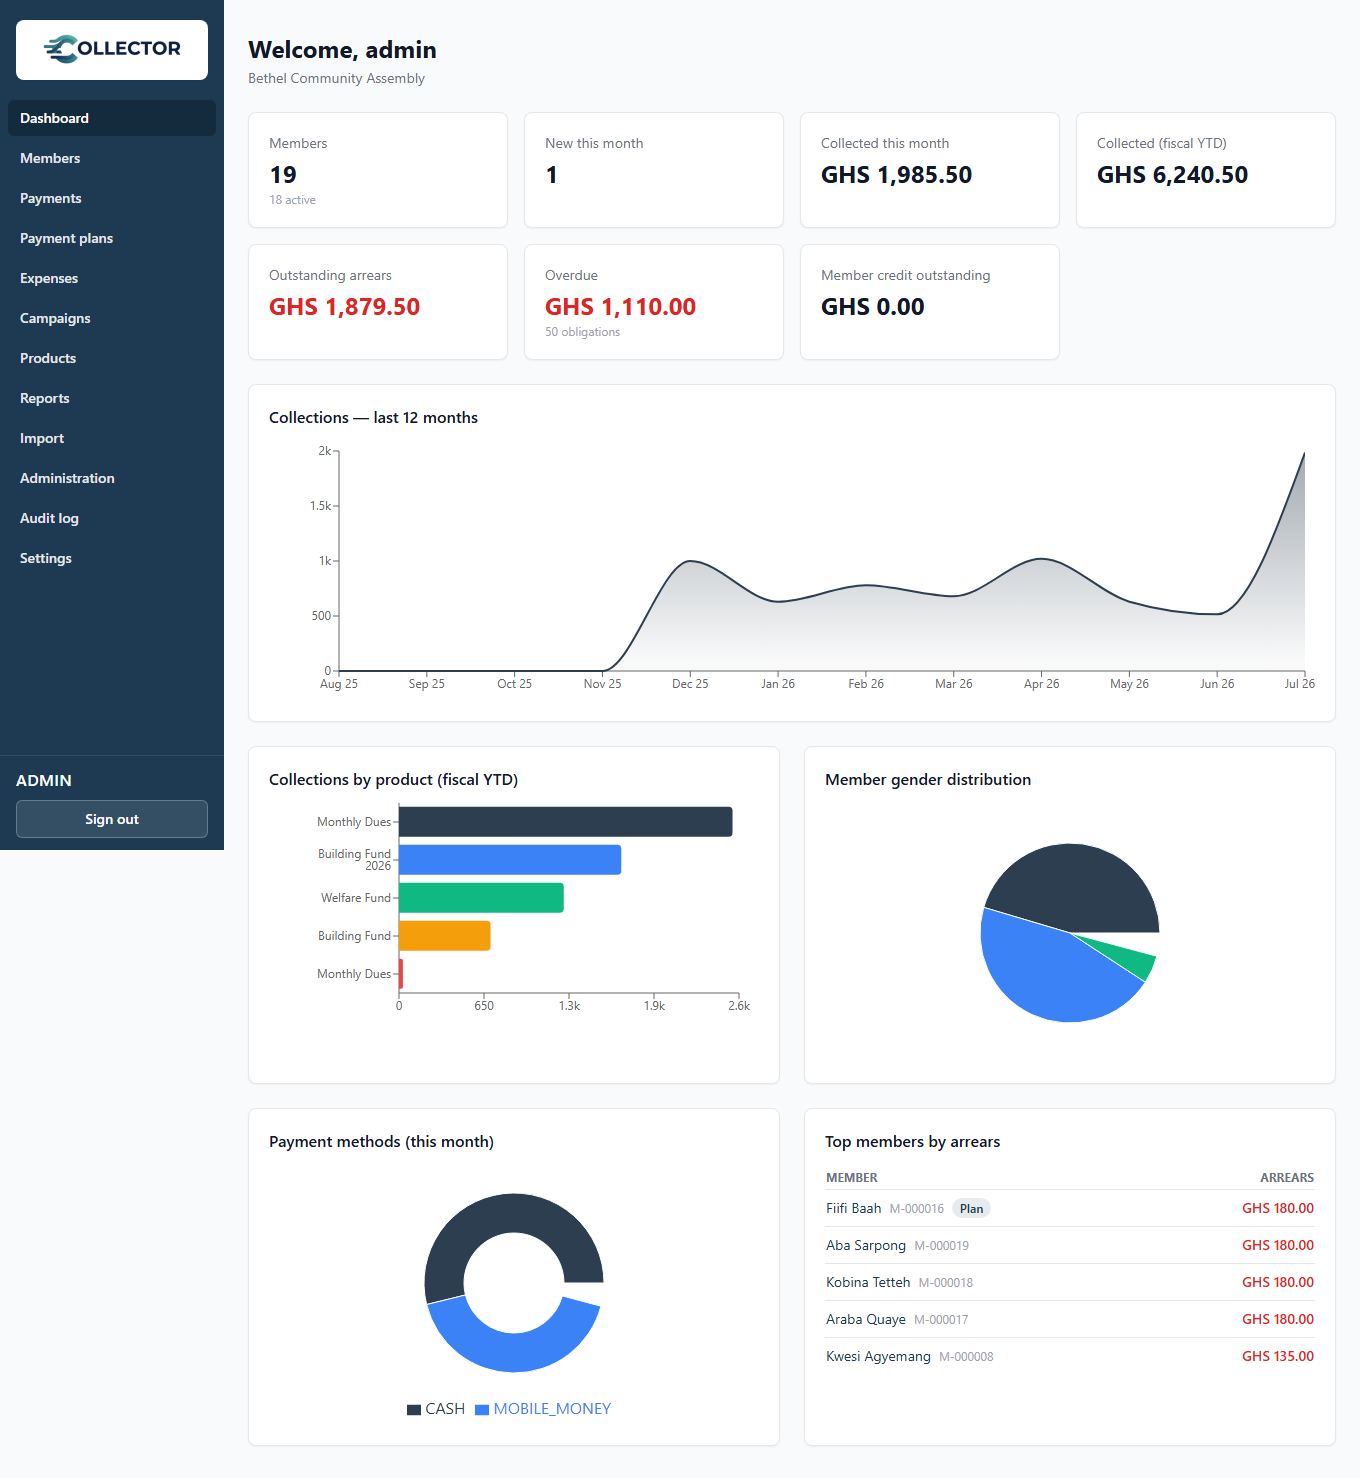
Once signed in you land on the Dashboard — your live view of collections, arrears, and member counts:
If you're still using the initial admin password from setup, change it now: go to Admin → Users, pick your user, and set a new password.
2. Configure your organization
Go to Settings and fill in the basics:
- Name, contact email and phone — appear on receipts, reports, and member-facing emails.
- Currency code — e.g.
GHS,NGN,USD. All amounts in the system are formatted with this currency. - Fiscal year start month — drives the period covered by annual reports
(e.g.
1for January,9for a September church year). - Overdue grace (days) — how long after a due date an unpaid obligation waits before it's marked overdue.
- Due reminder lead (days) — how far ahead of a due date members get a reminder.
If you plan to send emails or SMS (receipts, reminders), also enter your SMTP and SMS credentials here — see Organization settings for details.
3. Create your first product
A product is anything members pay for. Go to Products → New product:
- Give it a name and code — e.g. Monthly Dues /
DUES. - Choose the obligation type:
- Mandatory — Collector generates expected payments and tracks arrears.
- Optional — members pay ad hoc; nothing is owed.
- Turn on Auto-enroll if every member (current and future) should participate.
- Add a payment rule: the amount and the frequency (monthly, quarterly, annually, or one-time), effective from a date.
See Products & payment rules for how rules and amount changes work over time.
4. Register a member
Go to Members → New member and enter their details. Phone and email are optional individually, but you'll want at least one so the member can receive receipts and reminders.
On registration, Collector automatically:
- enrolls the member in every auto-enroll product,
- generates their current period's obligation for each mandatory product,
- generates the one-time registration fee obligation, if you've enabled it in Settings,
- sends a welcome message, if the registration-welcome notification is on.
5. Record a payment
Go to Payments → Record payment (or open the member's page):
- Pick the member.
- Enter the amount, the date, and the method — cash, bank transfer, or mobile money.
- Save. Collector allocates the money to the member's outstanding obligations (oldest first), updates their arrears, emails a receipt if SMTP is configured, and sends a payment confirmation if that notification is on.
That's the core loop: products define what's owed, members get obligations, payments fill them. Everything else — reminders, reports, the portal — builds on it.
Next steps
- Import your existing members and payment history from CSV or Excel.
- Invite members to the portal so they can pay online by card or mobile money.
- Set up automatic reminders so nobody has to chase arrears by hand.
- Create roles for your staff so each person has exactly the access they need.